F.A.Q'S
Blog posts
View all-
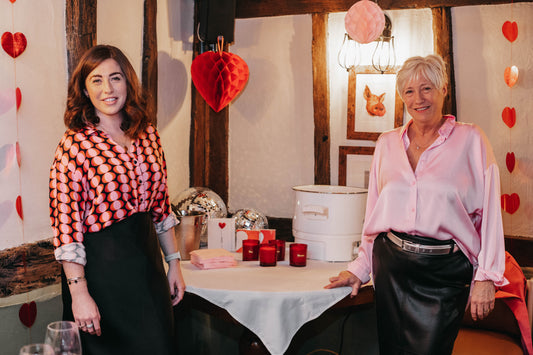
A Glowing Night of Candle Making & Laughter!
On a crisp February evening, we transformed the charming The Kings Arms in Horsham into a cozy, creative haven for our very first Galenetine's Candle Making Evening and what a night...
A Glowing Night of Candle Making & Laughter!
On a crisp February evening, we transformed the charming The Kings Arms in Horsham into a cozy, creative haven for our very first Galenetine's Candle Making Evening and what a night...
-

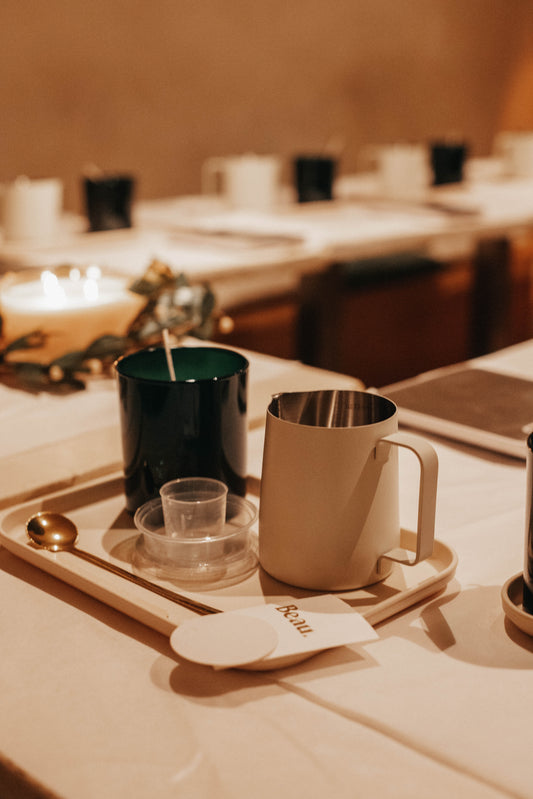
Galentine's Day Candle Making Workshop
Celebrate friendship and creativity with an unforgettable evening of candle-making at The Kings Arms in Horsham! ✨ What’s Included• A hands-on workshop where you’ll craft your own bespoke soy candle. •...
Galentine's Day Candle Making Workshop
Celebrate friendship and creativity with an unforgettable evening of candle-making at The Kings Arms in Horsham! ✨ What’s Included• A hands-on workshop where you’ll craft your own bespoke soy candle. •...
-
The Mum Club | Christmas Candle Making Workshop...
The festive season kicked off in the most delightful way at our Christmas Candle-Making Workshop! Hosted by us in collaboration with The Mum Club Horsham, the event was a heartwarming...
The Mum Club | Christmas Candle Making Workshop...
The festive season kicked off in the most delightful way at our Christmas Candle-Making Workshop! Hosted by us in collaboration with The Mum Club Horsham, the event was a heartwarming...

